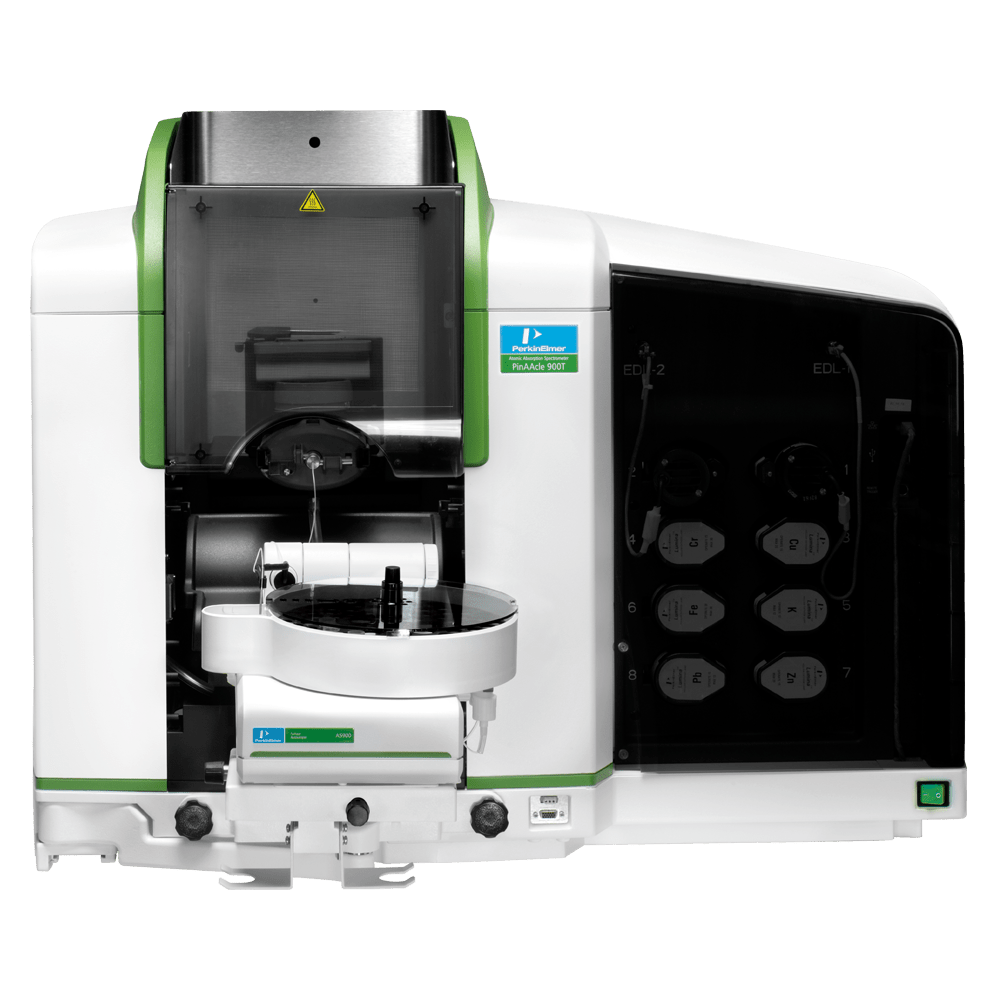
Perkin Elmer Atomic absorption spectrophotometer (Analyst 300 )standing Operating procedure.
-
Page Contents
Purpose
The following document describes the procedure of the operation, cleaning, calibration, and maintenance of the analyst 300 Absorption spectrophotometer(AAS).
-
Scope
This procedure is applicable to the atomic absorption spectrophotometer installed in the quality control laboratory.
-
Responsibility
Analyst
Quality Control manager
-
Operating Instructions& Procedure
- Check the location of the exhaust vent (should be located at least 4 meters from the flame).
- Check the pressure of the AA Gas purifier assembly. Make sure the output pressure is between 51 and 65 psig (on the wall, behind the instrument).
- Turn on the proper gas supplies and set pressures, as recommended in the handbook.
- Acetylene 85-100Kpa (12-14 psig)
- Air (dry grade) 350-450kpa (50-65 psig)
- Nitrous oxide 345-520kpa (50-75 psig)
- Switch on the computer and start windows.
- Switch on the spectrometer and accessories.
- Start the AAWinlab. To remove the initial screen, click on Menus and Toolbar.
- In the File menu, click on open-Method… in the open method dialog, select the method you want to open, then click on OK.
- Connect the lamp to the appropriate socket.
- On the toolbar click on lamps.
- Click on the appropriate lamp to switch it ON.
- Wait for a couple of minutes to warm up, and click on Midscale to set the current.
- Close the Align Lamps window.
- Before you ignite the flame adjust the burner Height.
- in the Tools menu, click on Continuous Graphics.
- Open the flame compartment door.
- Place a small piece of white cardboard over the burner, facing the light beam. Turn the horizontal adjustment knob until the light beam is centered over the burner slot.
- Lower the burner with a vertical adjustment knob so that the burner heads well below the light beam.
- Click on auto zero.
- Check if the drain system is installed and operating correctly.
- On the Toolbar click on Flame.
- Aspirate the blank solution (distilled water). When the signal is steady, click on Auto zero in the continuous Graphics Window.
- On the toolbar click on Manual and Results.
- in the Manual, Control Window click on Analyze Blank. (you need to place the tubing in the solution before you click on Analyze)
- Analyze Standards
- Analyze Sample
Shutting down the instrument after Flame Analysis
- With the Flame still burning aspirate deionized water for five minutes.
- In the Flame Control window, click on Flame off.
- Turn off the burner gas supplies to the spectrometer.
- Exit the software, including the main application and the windows software.
- Switch off the Spectrometer.
- Switch off the computer.
- Empty the burner drain vessel. Dispose of the waste solutions according to safety.
- Precautions
- Don’t open the flame window when the flame is on.
- Do not leave without closing the acetylene tank when not in use. Acetylene is explosive and quite dangerous.
- Cleaning and maintenance
- After completion of the analysis, do the following.
- Remove the used glassware.
- Aspirate with a blank solution for one minute to remove any residue remaining in the suction pipe.
- Clean the suction pipe with distilled water four times.
- Switch ‘OFF’ the instrument.
- Switch ‘OFF’ the mains.
- Clean the burner slit using a wooden strip (Provided by the manufacturer, especially for this purpose) or using hard paper.
- Remove the lamp from the instrument and keep it in a drawer.
- Clean the outer surface of the instrument with a dry clean cotton cloth and remove any dirt or spots by mopping it with isopropyl alcohol and dry it with tissue paper. Record in the format of an instrument log card.
General Maintenance Checklist
The following checklist describes general maintenance procedures
Clean up spills immediately, using a spill clean-up kit approved by your organization
To properly maintain the spectrometer instrument, do the following as required:
- Clean the exterior of the instrument.
- Inspect and clean any fans and filters.
- Monitor tank pressure.
- Inspect the burner assembly (see checklist later in this chapter).
- Inspect the drain system.
- Optical: Check the window surfaces in the sample compartment for fingerprints, dirt, lint, etc. clean the windows with a tuft of cotton moistened with a dilute solution of isopropanol followed by several rinsing with deionized water.
- If the energy of the primary source lamp is too low, refer to the lamp troubleshooting information in the Troubleshooting chapter of the manual. The lamp may need to be realigned, or replaced if it is old.
- If the intensity of the deuterium arc background corrector source is too low, refer to the Troubleshooting information in the Troubleshooting chapter of this manual. The background corrector source lamp may need to be realigned or replaced.
- Normally, the spectrometer optics will require little or no maintenance. However, low energy lamp readings or noisy or erratic results may indicate that the optics require cleaning or alignment. This should only be done by a PerkinElmer service engineer.
- A service technician may clean the mirrors by careful use of a clean cotton cloth moistened with a clean solvent such as alcohol. Quick drying of the surfaces is important. Do not rub optical surfaces.
-
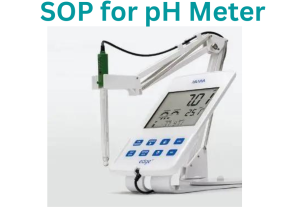
Calibration
- Curve correction: Quantitative measurements in atomic absorption is based on Beer’s Law, which states that concentration is proportional to absorbance: C = kA. The Perkin-Elmer AA-300 allows either linear or non-linear calibration using multiple calibration standards.
- Selecting the number and concentration of standards: Selecting the number and the concentration of calibration standards is very important. If the analyte concentration of all samples to be analyzed falls within the linear range, one calibration standard should be used. The top of the linear range for most elements is between 0.20 and 0.30 absorbance units. If the analyte concentration in the samples is expected to exceed the linear range, either two or three calibration standards should be used.
- How to select calibration standards properly:
- Makeup three standards: The first one (S1) should be on the top of the linear range. The concentration of the second standard (S2) should be 3X the concentration of the first. The concentration of the third standard (S3) should be 6X the concentration of the first standard (S1) (6:3:1 rule).
- Preparing the calibration standards: Calibration standards are prepared from certified stock standards for calibration. A variety of stock standards are usually provided at a concentration level of 1000mg/l and are available directly from Perkin-Elmer as well as from other commercial sources.
- Creating a calibration curve:
- Set up the spectrometer in concentration mode. Auto zero on
- In the Manual analysis, control window click Analyze Blank and then Analyze Standards.
- Click on Analyze sample.
- Check the calibration curve. If the calibration curve is in the linear range and some standards appear to be off it, check them and repeat the calibration.
FREQUENCY: Every month
Visit