Page Contents
1. Purpose
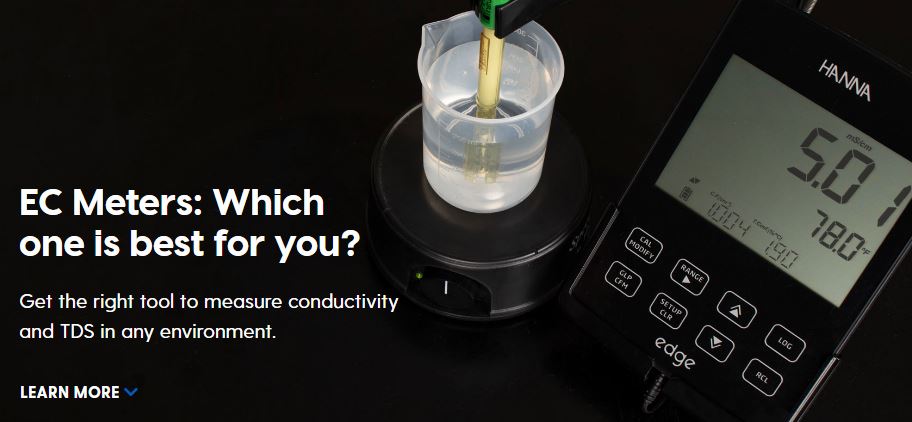
To ensure that the Conductivity meter is working properly.
2. Scope
It is applicable for measuring of Conductivity of water in the Quality Control Department.
3. Responsibility
Analyst
Quality Control Manager
4. Operating Instructions of Conductivity Meter
- Place the instrument on a flat surface and protect it against intense light and heat.
- Check that electrode is properly attached to the instrument.
- Press the ON key. It will display the current conductivity of the solution in which it the electrode has been dipped.
- Select the appropriate conductivity range.
Note: If the display shows “1”, there is an over-range condition.
Select the next higher range. Allow a few minutes for the reading to stabilize. The LCD will display the temperature-compensated conductivity reading.
- Check the instrument with the solution of standard conductivity solution. If it does not give the same conductivity at the given temperature. It needs calibration.
- Rinse the electrode with distilled water thoroughly.
- Now dip the electrode in the water sample whose conductibility is to be measured.
- Note the reading as it becomes stable.
5. Precautions
- Check that there is no other display of letters on the LCD. If the display of LO appears in the corner batteries should be replaced.
- The electrode should be kept for a long time in distilled water solution.
6. Cleaning and maintenance of Conductivity Meter
- The instruments must be cleaned only with a dust-free cloth slightly damped with detergent and methanol.
- The only maintenance is the replacement of batteries located on the backside of the instrument.
7. Why and when to calibrate?
- Always calibrate after connecting another electrode.
- The instrument should be calibrated if upon connection and immersing in the standard conductivity solution it shows a deviation in value.
- Even if no deviation is observed ever, it should be calibrated fortnightly.
8. Calibration Procedure of Conductivity Meter
- Push the power button to ON, and dip it in a standard conductivity solution.
- Press the CAL key repeatedly until it starts blinking display.
- Then press the UP/DOWN arrow key, until the displayed value matches that of the standard value.
- Finally, Press the CAL key once again and your instrument has been calibrated.
5 After the calibration, the instrument automatically evaluates the current status.
- The conductivity of the standard/ reference solution is 1413ms/cm at 25° C.
Also Visit,
Waters HPLC Empower software installation Step by Step guide.
Waters HPLC Empower Software Installation Waters HPLC Empower Software Installation Waters HPLC Empower Software Installation Waters HPLC Empower Software Installation Waters HPLC Empower Software Installation Waters HPLC Empower Software Installation Waters HPLC Empower Software Installation Waters HPLC Empower Software Installation Waters HPLC Empower Software Installation Waters HPLC Empower Software Installation Waters HPLC Empower Software Installation Waters HPLC Empower Software Installation Waters HPLC Empower Software Installation Waters HPLC Empower Software Installation Waters HPLC Empower Software Installation Waters HPLC Empower Software Installation Waters HPLC Empower Software Installation Waters HPLC Empower Software Installation Waters HPLC Empower Software Installation Waters HPLC Empower Software Installation Waters HPLC Empower Software Installation Waters HPLC Empower Software Installation Waters HPLC Empower Software Installation Waters HPLC Empower Software Installation Waters HPLC Empower Software Installation Waters HPLC Empower Software Installation Waters HPLC Empower Software Installation